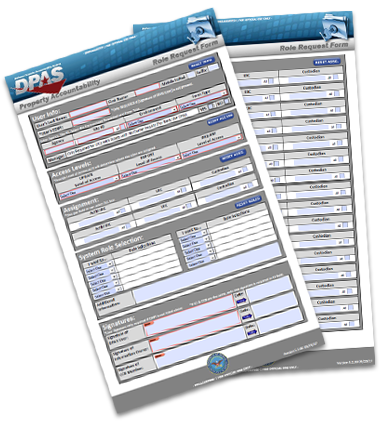
 This form can be broken into five sections:
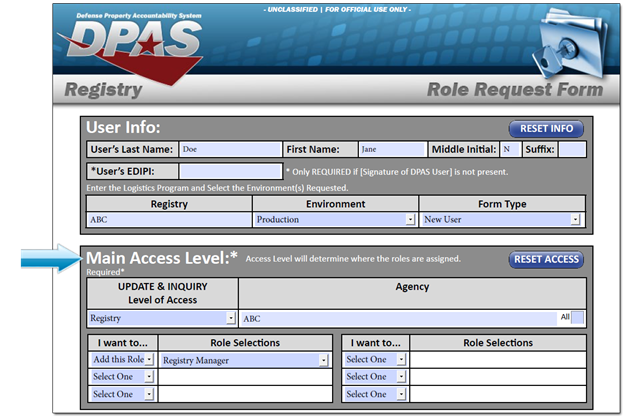
- User Info - Please complete User’s Last Name, First Name, Middle Initial and EDIPI (Note: EDIPI only required if signature of DPAS User is not present at the bottom of the page.)
Next, type in your Registry Name and select which environment is being requested as well as form type (New User or Update User). - Main Access Level - Determines Tier level where user’s Update & Inquiry roles will be applied for use.
- Select the Tier from the drop-down menu provided.
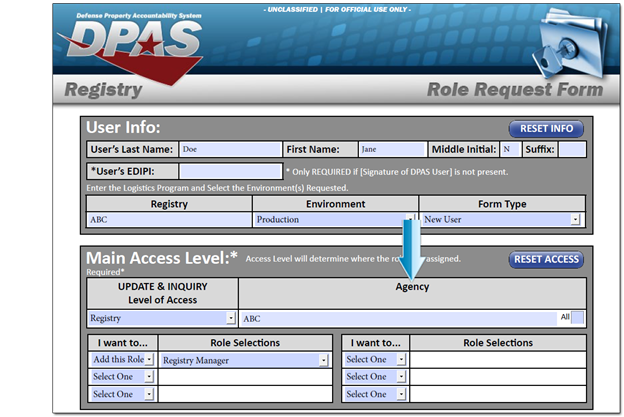
- Next add the corresponding Assignment Tier information as it appears in DPAS. (Example: if you choose Agency Tier level - then complete which Agency in the next field. If you choose Registry level, once you select that level, you may want to select the “All” box for Agency. Make sure your Registry name is listed above.
- Next make the Role Selection under “I want to” - you will select either “Add this role” or “Delete this role” and then choose the role from the role selections drop-down.
- Additional Access Level - only complete when additional access is needed for the user. Follow the same steps above on filling in the information needed for the additional access.
- Additional Info - Provide any additional information that may assist the Account Management team in processing the request.
- Signatures - The User Signature only required if EDIPI is not present at top of form. If IO and CCB are the same, only the IO Signature field needs to be complete. If IO is not CCB and are requesting Registry level update roles, a CCB member signature is required.
We recommend that you open this form electronically using Adobe Acrobat. You can easily complete the form and avoid common errors with the built in rules programmed in the electronic form. Adobe Acrobat Reader is available for free from the Adobe website.
Note: Each section has a blue reset button to the right.
The form can be downloaded with instructions:
Section 2 - Main Access Levels
There are two levels of access in DPAS. Understanding these levels will ensure the proper access is granted.

- Registry - top level of access. Users at this level have access to all assets for all Agencies throughout the entire Registry. This level is responsible for creating, updating, and deleting Registry accounts, assets, and components.
- Agency - this level has access to activities specific to an Agency Group within a Registry. Access privileges are restricted to assets at a specific Agency.
Once you have an understanding of the access tier levels, you can assign role(s) to the level needed.
Select the Main Access level for "Update & Inquiry" from the drop-down menu provided.

Section 2.2 - Assignment
Based on the Main Access Level selected, the corresponding Assignment information should be completed.

Related Links:
Section 2.3 - Role Selection
Each process in DPAS is assigned to a specific role. Every user is assigned one or more roles in the system.

Partner with your Information Owner (IO) to determine which roles are required. All roles are listed in the drop down menu once you select whether you want to add or delete. If you are not sure who your IO is, please contact the DPAS Support Help Desk for guidance.
- Roles Spreadsheet - XLS (270 KB)
After reviewing the security access levels and roles, you must complete the necessary information on the DPAS Roles Request form. Contact your supervisor or the Information Owner (IO) for your agency if you have questions regarding your choices.


